I divide my workdays into “shop time” and “office time”. It is currently about a 50/50 split, but with Florida summer in full swing and the onboarding of this blog and my creeping years, I find myself leaning towards the relative cool of my office when I can.
I have another 50% (don’t mind my math) that is my “home” time. This I fit in as my business sees fit. Depending on the time of year, my workday demands run from 1 - 2 hours a day to 10 -12.
Here are my thoughts on creating a quality home based business.
Visualize Quality
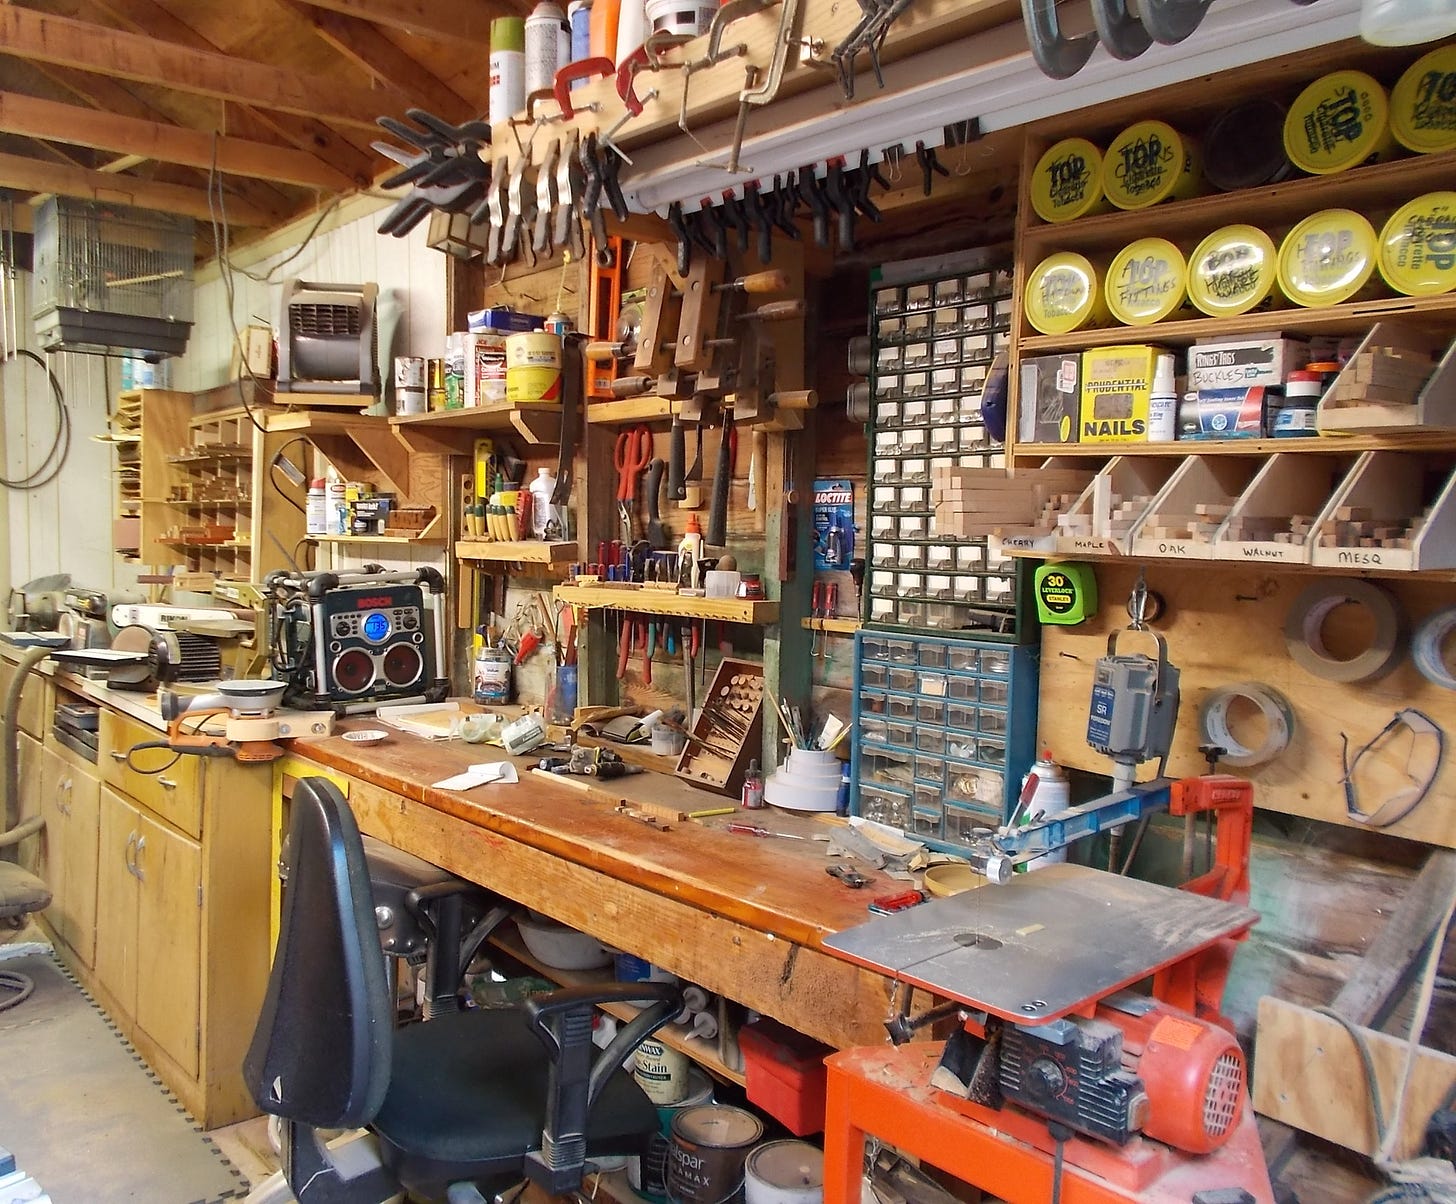
Getting your work areas organized, stocked and set up for production is an exciting activity for the home based crafter. Whether it is a home office, work shed or mini warehouse, it is your interpretation of how you believe and desire work to be done. There are no “rules” except those you lay down yourself. However you want to do it, it is important to visualize how your would-be workflow would work in a busy and thriving shop, even if you have not yet made a first sale.
Before you set up anything, sit in the area and grok it. In your mind, picture where you will spend the most time. Likely, it will be your computer desk (office) or your work bench (workshop). I like a window nearby and my music handy, but this is about you and what you consider important.
Now, while still in your head, imagine the immediate peripherals that you will need to support your activities there. Computers, tools, file cabinets, printers, hand tools, “last-stage” hardware, final polishing supplies, packaging materials, etc., should be within easy reach or a swivel or scoot away on your rolling chair/stool.
Work out from there. Stuff you intend to use daily, i.e. your photography station, cases of bubble mailers and tubes, shop vacuum, carving stock, machinery (with their required accessories), etc., should be easily accessible and set up, ready for use.
Office Area
Whether you have an entire spare room to use or a dining room table that must serve multiple purposes, keeping everything organized is key to running the left-brained aspects of your business. With devices nowadays being wirelessly connectable, it is fairly easy to have a computer, printer, camera and other devices located within easy access.
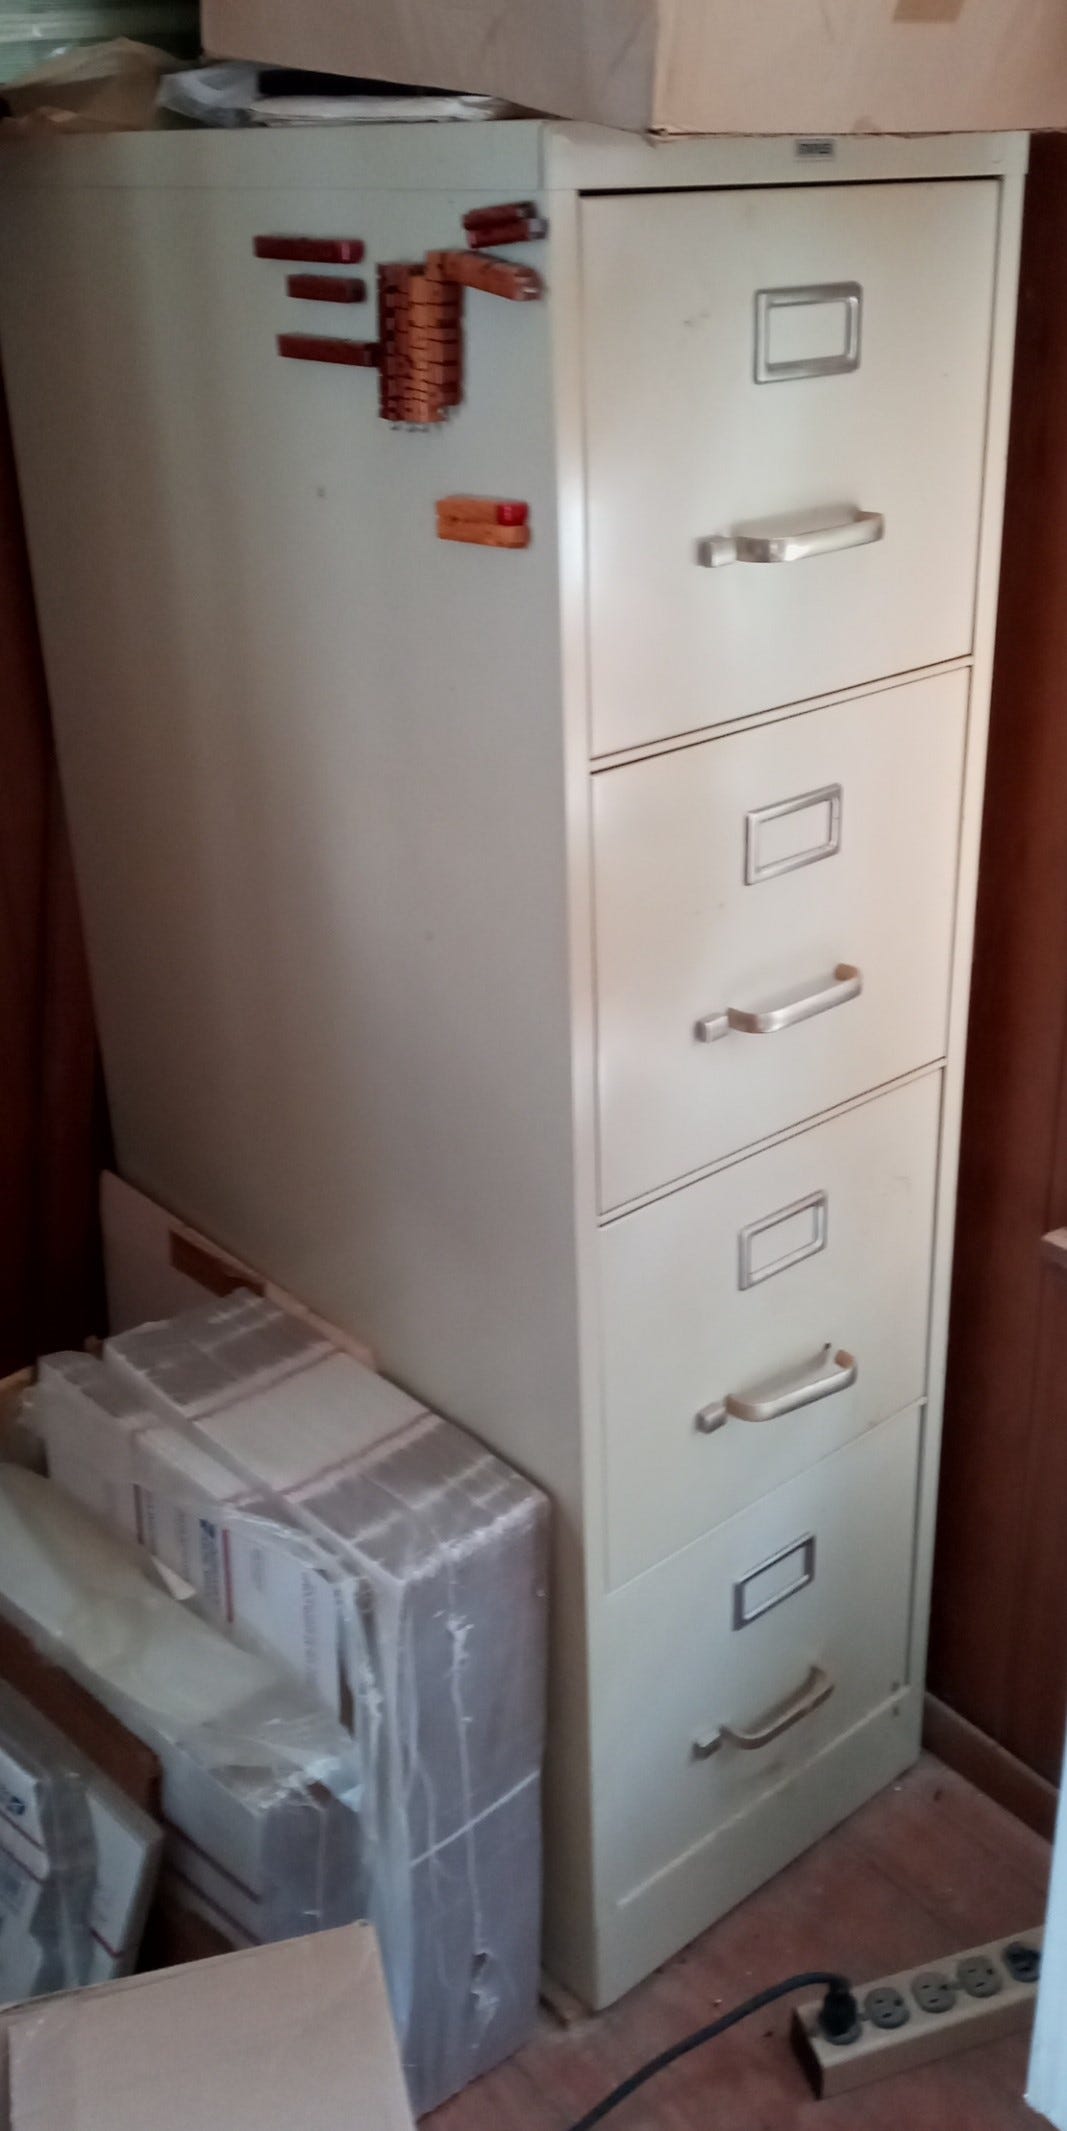
Although almost all of your bookkeeping is now done on your computer, eliminating much of the paper waste that we generated back in the day, hard copies of some documents and receipts are still required. So, one or two filing drawers is sufficient for your home business and recordkeeping, but if you happen on one of these beasts for $5.00 at a yard sale (and have the means to move it), they provide ample storage for much more than paper files. Mine contains patterns, samples and magazines that I deem saveable for future use.
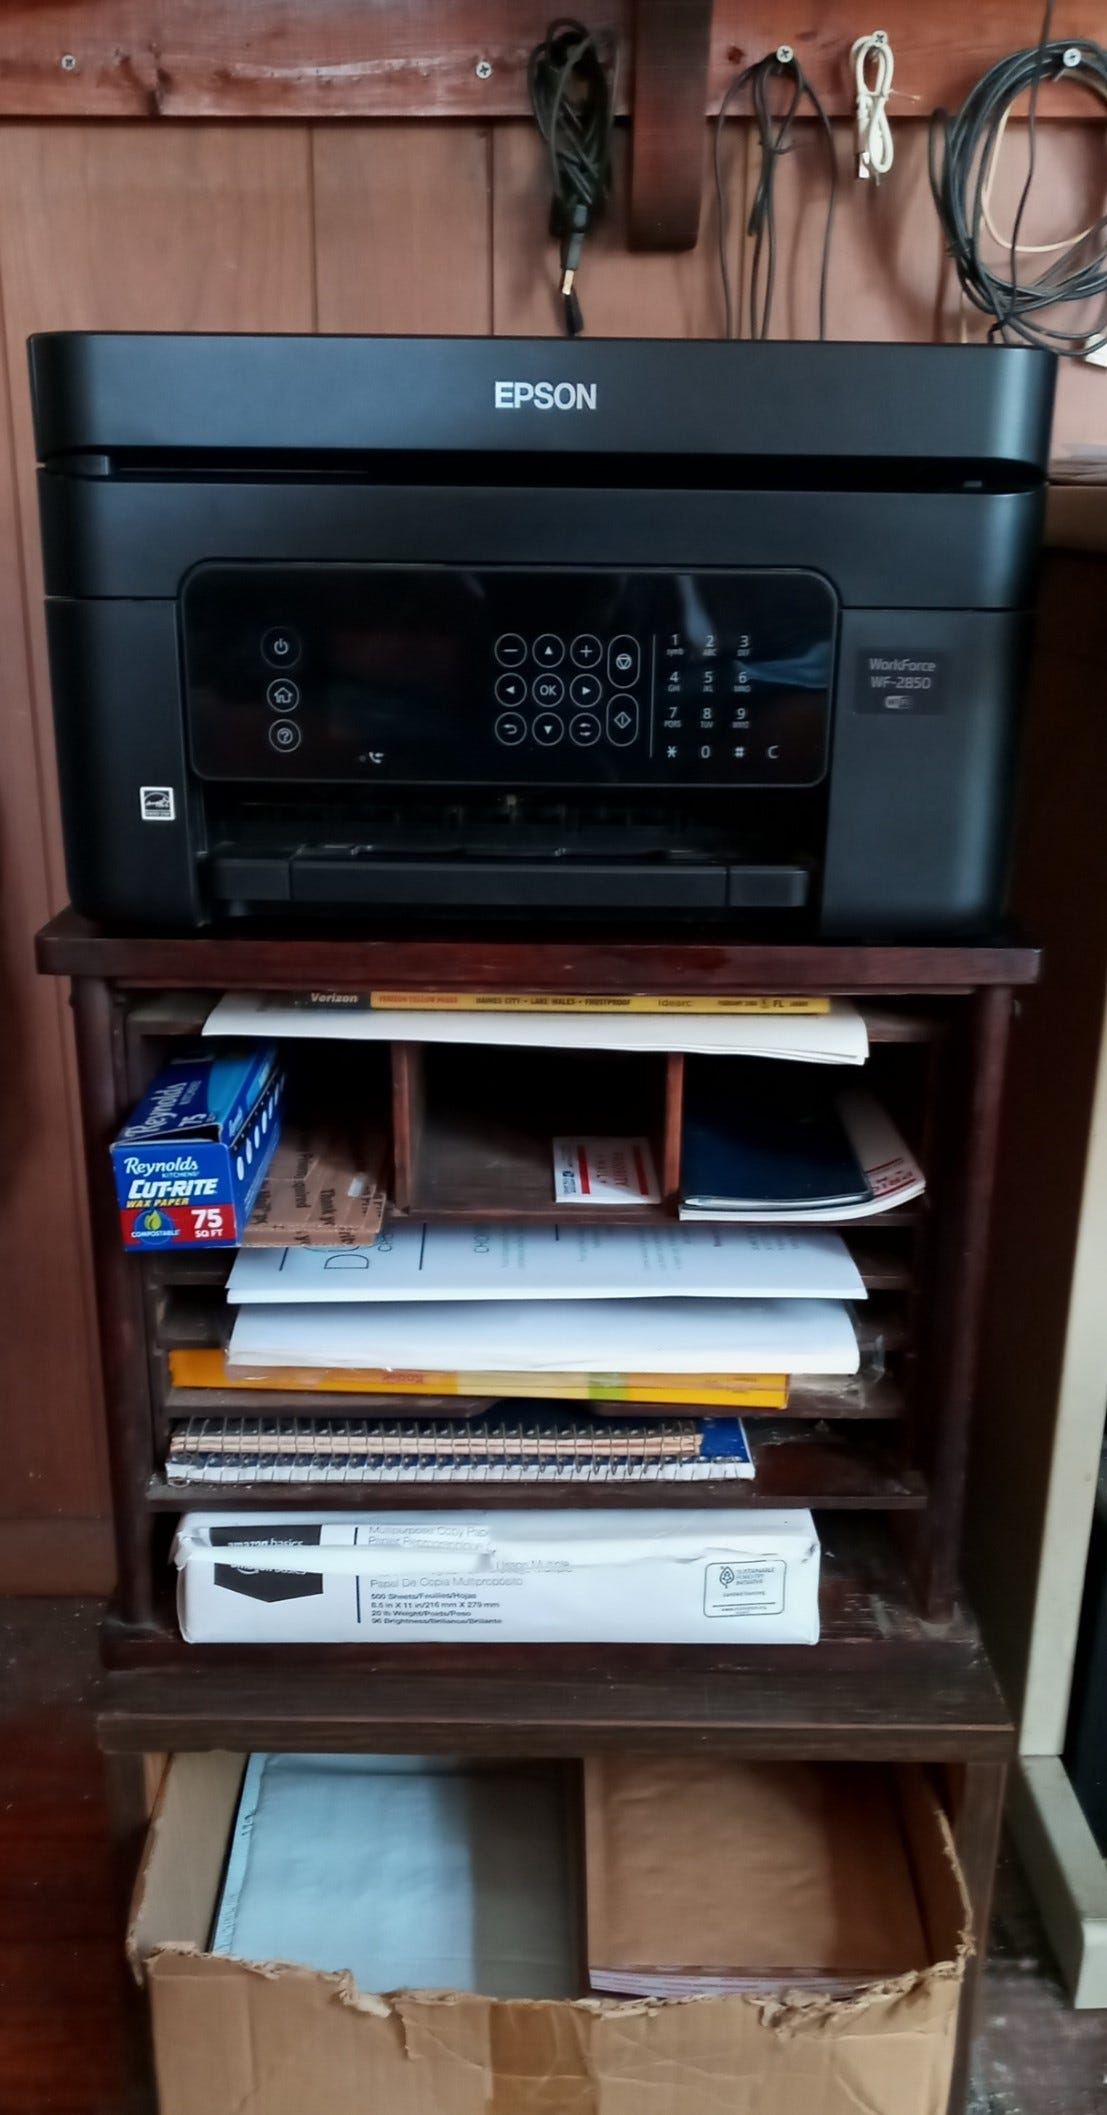
Paper, packaging and shipping supplies can be hidden in a convenient small chest of drawers or visibly accessible cubbies designed for such use. Keep an eye out for such finds at thrift stores and garage sales.
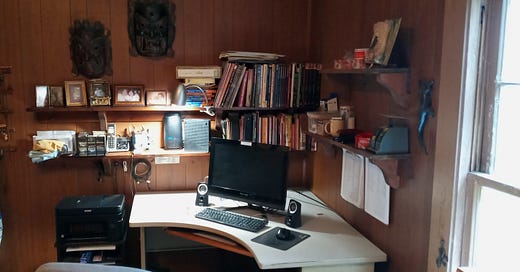
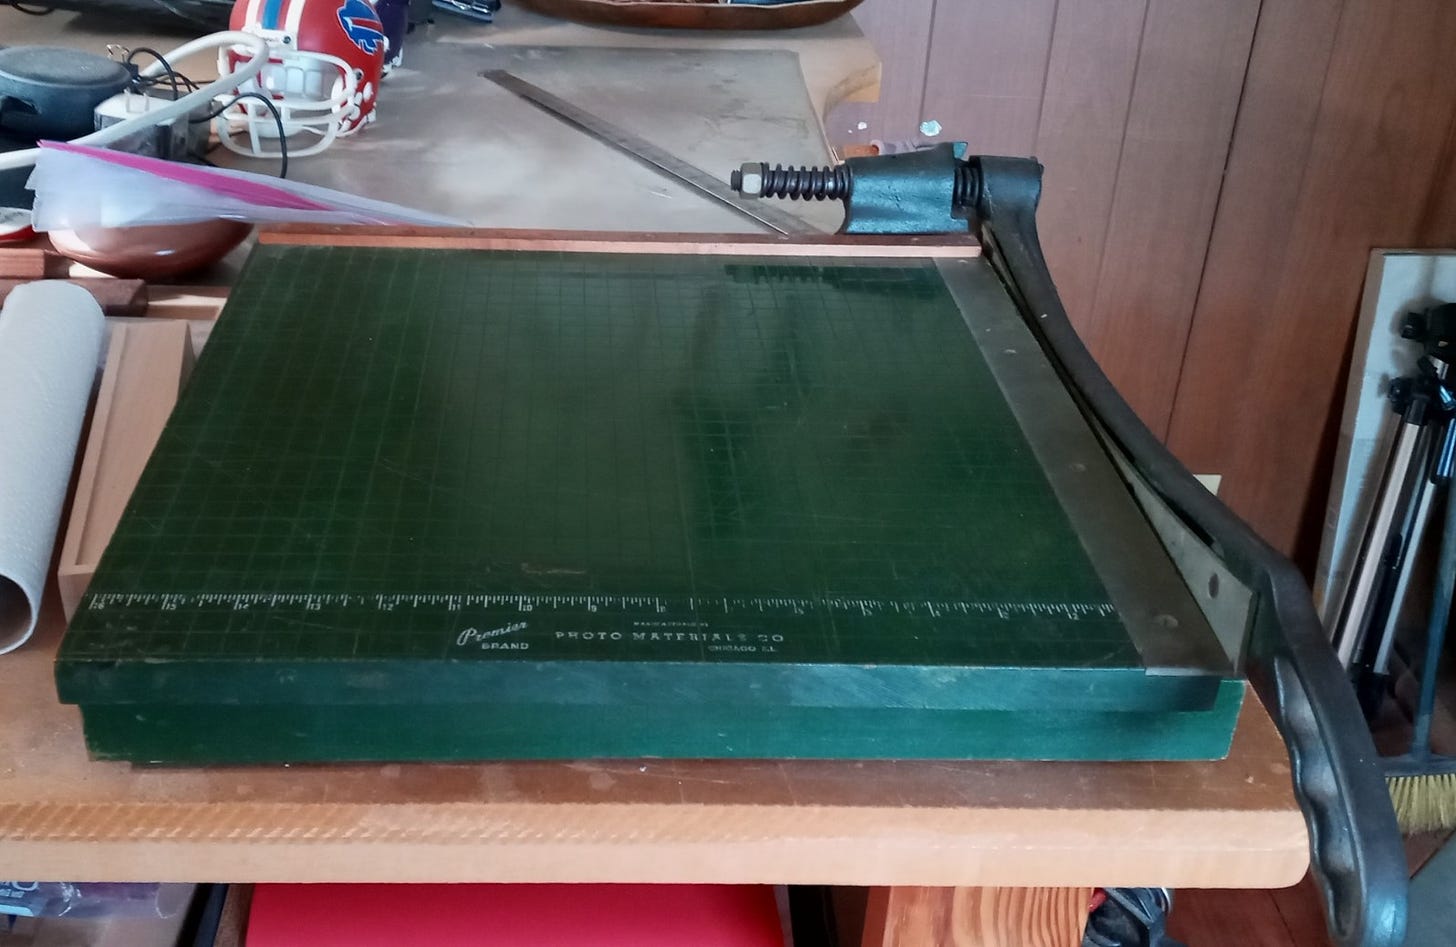
I am lucky enough to have a spare bedroom for my office (with air conditioning). Most everything I need to run my gig is within easy reach of the swiveling “cockpit” chair in front of my computer. I have a window facing my driveway (north). Turning east, a drafting/work table that I keep fairly clear for photography, final polishing and assembling packages to ship. On the south wall, I have a workbench for non-dustmaking creations, indoor tools and the old-time paper cutter (previously owned and used by Disney Legend and step-father, Ralph Kent) is used daily. He is forever with me.
Workshop
The same plan is followed in my workshed (not air conditioned). The carving and finishing are done on my workbench which is easily brushed off as I work. Most immediately used tools are located within easy reach or scoot of my rolling stool at the workbench. The messier aspects like ripping, milling cross-cutting are kept together and sanding has its own bench. The shop vac is centrally located, easily connected to all my biggest dust makers.
You will find your natural flow as you progress, but it is helpful and time wise to play it out in your mind and on graph paper. I have drawn hundreds of workshops in my head and on paper.
However you progress, try to refrain from making things permanent until you live with them for a while.
In all of your workspaces, don’t forget speakers. There must be music.
Your Stock Materials
Anticipating product popularity is a tricky science, better understood after a few years of merchandising your work. Working within a shoestring budget, start with basic colors and/or proven materials and build your supplies, based on what sells or is requested of you. This organic approach allows for additions that you gauge customers will like or have suggested in their convos.
I originally started my name carving business using the redwood scraps left over from cutting the sign patterns for my aunt, Judy Bond. As I got into keychains, I needed something stronger to hold up to the everyday use and abuse they demand. So, I went to oak wood that was fairly available everywhere.
When I resurrected my craft in 2008, I decided to keep things small (easily mailed) and start with common domestic hardwoods, namely Cherry, Maple, Oak and Walnut. Once they heard what I was doing, fellow woodworkers and friends would drop off odd pieces of wood that they have been saving for years but getting in their way. I made samples with these new-to-me woods. Southwestern Mesquite wood from Jim, boatyard Mahogany from Rodney, Koa wood from the dumpster at CF Martin, PA (no names mentioned). Some woods proved more popular than others, but they all added dimension to my Etsy shop.
Trending…?
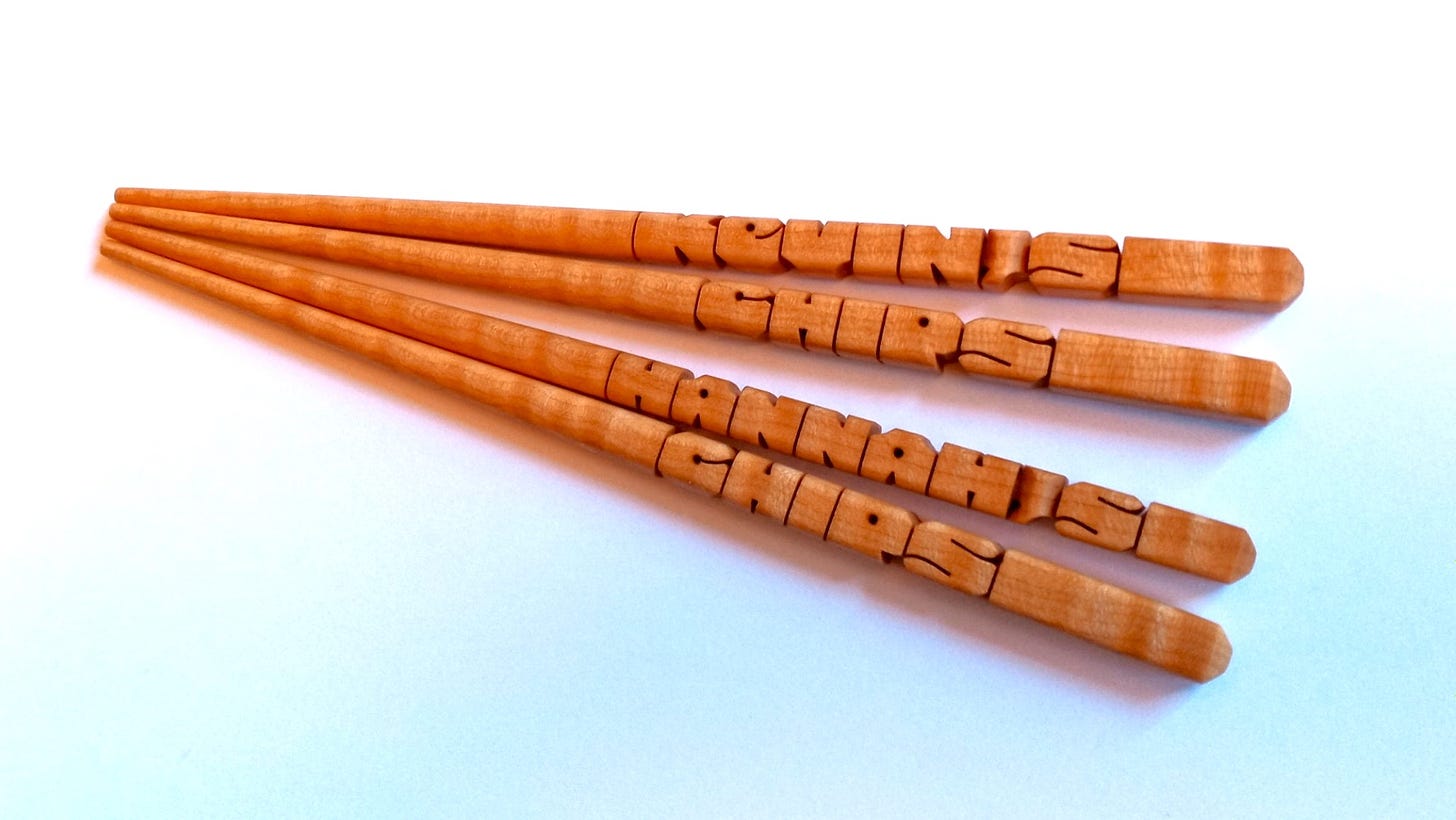
Pay attention to trends and requests. The demand for certain woods, products or other materials may take you places you never thought of. A request for chopsticks in 2014 changed my whole outlook.
Some ideas may not work out. Someone suggested cool color patterned plastic and clear Lucite for my keychains. I thought they were doable. However, after cutting a few test samples, I found that my blade kerfs closed and melted together in the process of carving them, making them impossible for my methodology. Besides, the smell of plastic and the resulting clingy dust were foreign to my wood sensitive faculties.
Creating Marketplace Listings
Concentrate on writing accurate and quality worded descriptions with proper punctuation. A badly misspelled or punctuated sentence is the first sign of a scam to online shoppers.
Wherever you decide to sell, most online sales venues allow you to use your first listing as a veritable template for future listings on similar items (just changing photos, some tags and description info). So make it good, simple and complete, then duplicate.
During slow times, I…
Anticipate a large order arriving any moment.
Mill up blanks of my most popular woods so they are ready to go when I receive that order.
Cut and sand common parts that are needed to complete an order. Organize them in a readily accessible sorting bin.
Make jigs that will shave time (even seconds count) from each item.
Clean your workshop. Nothing interrupts things like having to empty the shop vac or sweep so that your rolling stool will glide right. Mine does not have 4-wheel drive.
Sort and eliminate scraps so you won’t have to hunt for that particular piece when you need it. I keep a bucket for cooking wood scraps (mesquite, cherry, maple) and a bin for the fireplace that we need in Florida about 10 days a year (no plywood!). Small, dear bits of materials can be kept in labeled coffee cans or craft sorting boxes, at the ready for their perfect use.
My theory is if you consciously and properly maintain your craft and follow these practices, you will naturally produce consistent and quality items.
If you are enjoying what you see… I like it hot and black. 😉
Please join me every Monday for a new “17 Step Commute” blog and Friday for the week’s “News & Sneak Peeks”. Subscribe for FREE to get it sent directly to your inbox.

