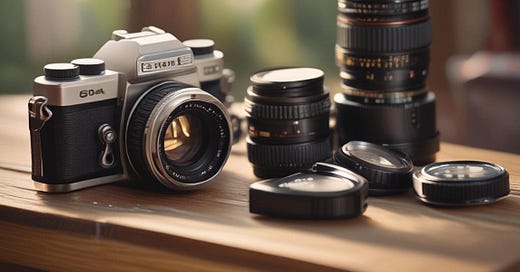
Back in the day we had to buy film. 12, 24 or 36 exposures at $5 to $15 a roll. 70s & 80s dollars, which would now be $12 to $30.
We had to “Learn” our camera. At least enough of the way that we needed to use it. F-Stops, apertures, film speed, lighting, etc., were all important aspects that we had to grasp to a point, so that the results were usable.
We would shoot the photos without any visual preview, schlepp it down to the drug store and wait days to see how many were actually usable after we paid for them all ($10 to $20, again $20 to $35 in today's money). No cropping. No editing out little errant hairs or dust motes.
We paid for blinking or red eyes and photobombing cat paws. With a 24 exposure roll, we might get 5 that were decent enough to actually use for a total cost of $6 to $8 dollars each. Sure, the anticipation was fun, but the take-home results were usually a let-down.
Digital photography has changed the game dramatically. The first digital cameras were a bit expensive, but you could create hundreds of images and trash the worst ones. Then you could upload them to your computer and edit them to be brighter cropped photos, ready for display.
These days, more than 95% of U.S. residents walk around with cell phones that take quality photos that rival the finest cameras of the boomer days. You can now take 20 pictures to find the “ONE” that will get scrolling clients to stop on your listing. As they say, each photo is worth a thousand words. It takes only a little forethought and imagination to produce attractive images and they cost only your time or print paper and ink if you decide you need to print them.
Everything, Everyday
At the end of each day, I tend to photograph every item I made. I usually set them up against a clean, white background. I find this contrast best for my products. It doesn’t take long and is a huge boon for online selling. With correct organizing storage practices, I have a documented record of when and what I created. I create computer files based on wood types and item types or styles, so that they are readily available to find and share.
You can store tens of thousands of photos for next to nothing. They are also fantastic documentation of your craft. I sometimes look back on images I took of my work 15 years ago and am amazed at the improvements I have made.
How I use my pictures:
To share “Sneak Peeks” with customers. As soon as they are ready to ship, I send a photo of them to the customer that ordered them. This lets the client know that their order is important to me and closing in on fulfillment.
To show examples and/or samples to potential clients.
To update listings with the best and most recent shots in listings to keep them “fresh”. Popular products tend to change slightly as you progress in your craft. They naturally get better the more you do. Also, raw materials like wood or fabric vary in color and pattern from one batch purchase to the next.
As a record for repeat customers. If a client isn’t quite sure of what wood or style they previously ordered, I can usually find it quickly by their name or date of their last order.
Verification that a custom item has been carved when shipping is delayed.
Promotion on social media.
Although photos are the primary attraction to your listing, they can be deceiving in relating size to the client. With the products I create (chopsticks and keychains), people already know the common size of such items. So, simply adding their dimensions to the listing is sufficient. If I offer a “Jumbo” or “Mini” version of an item, I include a photo of the size comparison.
Your creations may require a different tact. You may need to stage your product with other common items to show size relations. Perhaps you feel they need to be pictured showing their intended use. Or, maybe a combination of all of these?
As long as your photos are crisp and bright, there is no hard and fast rule other than to be clear in your description on what is included in the sale. If I use a favorite rice bowl as a prop in the photo, I make sure that “ANTIQUE BOWL NOT INCLUDED” is prominently displayed in my description. Also, if your listing is for a single item, do not use an image of a multiple set as your primary listing photo. Doing so may deceive those that do not read the entire description (which is very common).
Like I said previously, photography is cheap these days. So take loads of pictures, choose the best and use a simple editor to crop, fix and brighten them. Use as many as allowed by your venue to fill each listing up and give your potential customers the best idea of what they will receive.
If you are enjoying what you see… I like it hot and black. 😉
Please join me every Monday for a new “17 Step Commute” blog and Friday for the week’s “News & Sneak Peeks”. Subscribe for FREE to get it sent directly to your inbox.